Manual for Recipenator
What's the Recipenator
With the Recipenator you can easily save your favourite recipes as a printable card. No need for manually arranging text and images. Simply input the name, ingredients and instructions in the menu and the Recipenator will arrange everything on the card for you. Additionally, you can further pieces of information like the number of portions, the time needed for preparation and how long it can be stored in the fridge or freezer.
How to use the Recipenator
After you have opened the tool, you need to input your recipe via the different submenus on the left side of the screen (See below to get more information about those menus). The tool will fit the content on the card as good as possible. Once you are pleased with the results you can save the image of the card by selecting the image and saving it on your device.
Header Menu
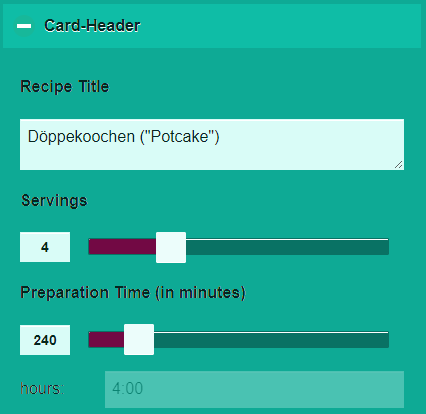
This menu is for entering the title, portions and preparation time of the recipe.
- Title: Just enter the title or name of your recipe. The tool will adjust the font size so that it will always be displayed in one line
- Servings: Select the number of servings the recipe will yield by moving the slider to the desired position.
- Preparation Time: Select the time in minutes your recipe will take to prepare. The tool will convert this to hours and minutes (show beneath the slider).
Left Column Menu
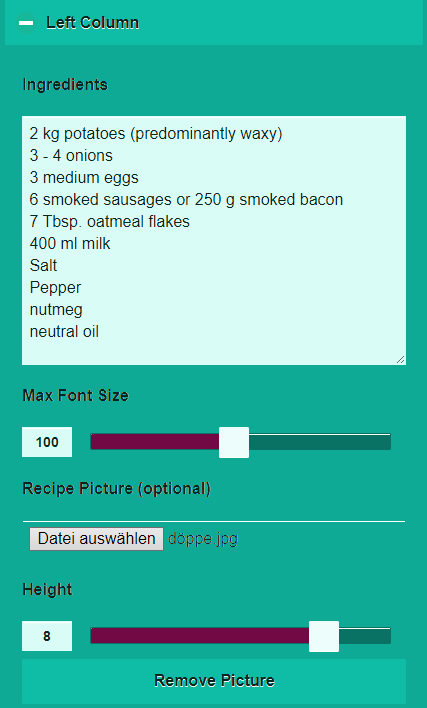
This menu is for the ingredients and to add an image of your recipe if you like
- Ingredients: Write down the list of ingredients needed for your recipe and the tool will adjust the size of the font so that it best matches the space reserved for the list. I would suggest that you write each ingredient in one separate line.
- Max Font Size: With this slider, you can select the maximum size of the font for the list of ingredients. By moving the slider you can decrease or increase the size of the font that the tool will set as the maximum. If the actual font size is smaller than this number nothing will change.
- Recipe Picture: If you like you can upload a picture for the recipe that will be added beneath the ingredients. The tool will crop the image so that the centre is always visible.
- Height: Here you can select a factor for the height of the image (from 1 to 10). The image will take more space (decreasing the süpace for the ingredients) if the number is closer to 10.
- Remove Picture: With this button you can easily remove the picture from your card.
Right Column Menu
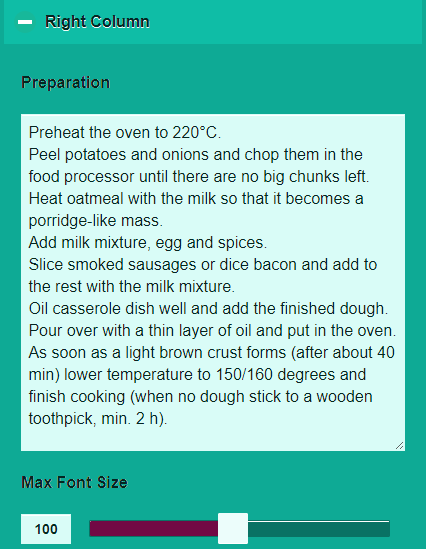
This menu is for the instructions for the preparation of your recipe.
- Preparation: Here you can write down the different steps for preparing your recipe. Like with the ingredients the tool will adjust the font size to best fit all the instructions. It will create a new paragraph for each linebreak (enter) you add.
- Max Font Size: Like for the ingredients, this slider will set the maximum font size the tool will use. By moving the slider you can decrease or increase the size of the font that the tool will set as the maximum. If the actual font size is smaller than this number nothing will change.
Card Footer Menu

Here you can add information about how long the recipe can be stored in the fridge or freezer and from what source the recipe comes from. Please remember, if you are using recipes from another source please link them on this card.
- Show Shelf Life: This button toggles the visibility of the shelf life on the card.
- Shelf Life Fridge: Select how many days the dish can be stored in the fridge by using the slider.
- Shelf Life Freezer: Select how many weeks the dish can be frozen by using the slider.
- Show Recipe Source: Here you can add an area for the recipe source on the card.
- Source Name: This is for the name of the source. You can enter for example the name of a person, book or webpage.
- Source Link: Here you can link to the source of the recipe. The link will be converted to a QR-Code and put on the bottom left corner of the card.
Category Menu
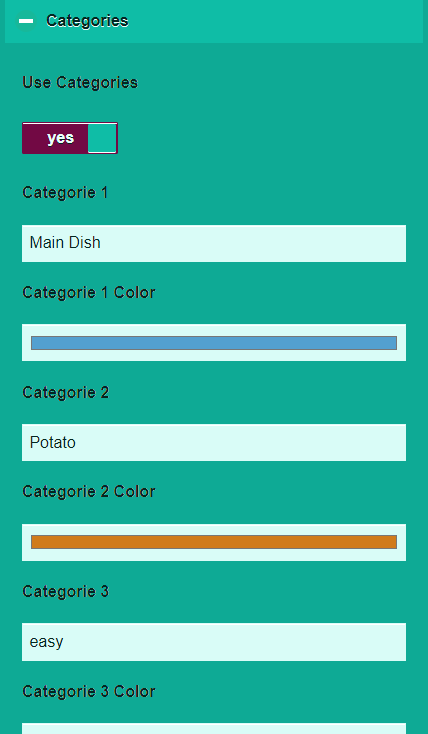
If you want you can add up to 5 different categories for your recipe. Those will be put on the right side of the card and are great if you have them printed and want to sort them. Also if you are searching for specific kinds of recipes you can easily browse through them.
- Use Categories: This button toggles the visibility of the categories on the right side of the card.
- Category 1: Name of the first category.
- Category 1 Color: Background colour of the first category.
- Those to input-fields repeat for all the categories. If you leave a name field empty, this category will not be shown on the card.
Settings Menu
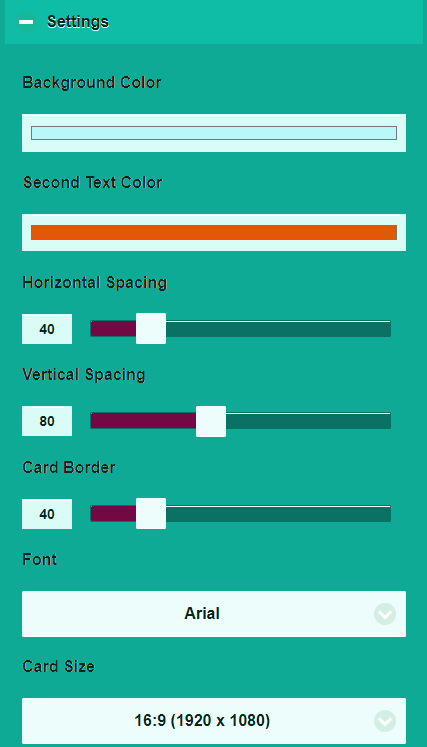
This is the final menu to adjust some layout options for your card.
- Background Color: Select the background colour of the whole card.
- Second text Color: Here you can select a second text colour that will be used for every second item of ingredients and instructions. Note: each ingredient or instruction counts as one item (represented by a single line in the input field). If the item is longer than one line, each line will have the same colour.
- Horizontal Spacing:Here you can adjust the distance between ingredients and instructions (purple area in the image below).
- Vertical Spacing:Here you can adjust the distance between header, ingredients, image and footer. (green area in the image below).
- Card Border: Here you can adjust the width of the outer border of the card (orange area in the image below).
- Font: Dropdown Menu to select the font for the card text.
- Card Size:Select different sizes and image ratios of the card.
Hello there!
This website is a labor of love that I maintain in my free time. My goal is to keep it free from shady ads and intrusive tracking cookies, creating a space that you can truly enjoy. If you appreciate what I do, I would be thrilled if you could share the site with your friends. And for those who can afford it, any small donation through Ko-Fi would be incredibly helpful in covering the ongoing costs. Your support means the world to me!
Thank you for being here! 🌟
![]()